Help
Overview
Getting Started
Using Easy-Commission Application
Rep
Master Data
Calculation Rules
Transactions
Calculation Process
Dashboard
Commission Statements
Period Close
Year End
Configuring Easy-Commission Application
User Setup
Appendix
Help
Overview
Getting Started
Using Easy-Commission Application
Rep
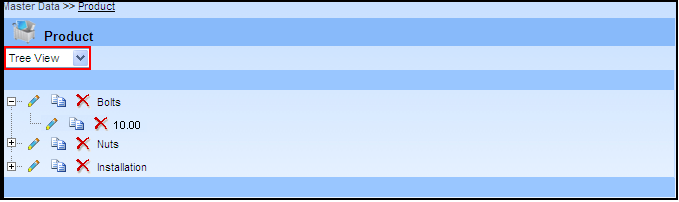
Master Data
Calculation Rules
Transactions
Calculation Process
Dashboard
Commission Statements
Period Close
Year End
Configuring Easy-Commission Application
User Setup
Appendix
Note: Available only in Regular Edition
Page designer allows creating a new page, setting controls for the page and assigning events or actions such as page load, page save, etc, on page. Page Designer actually creates an Object (table) and a page to view or edit or add records to that table. The user can also modify an existing Page details using the Page Designer. Modifying the caption or data type for existing control will result in loss of relevant control values. This page lets you quickly create, and view details. In addition, this page lets you copy, delete, and edit details.
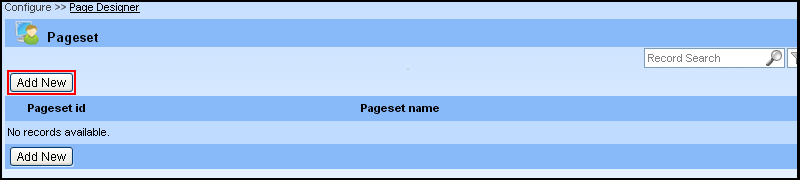
You can click Configure - > Page Designer menu item. The Pageset page opens. This will list the Pageset ID, Pageset Name, Links to Edit, Copy and Delete.
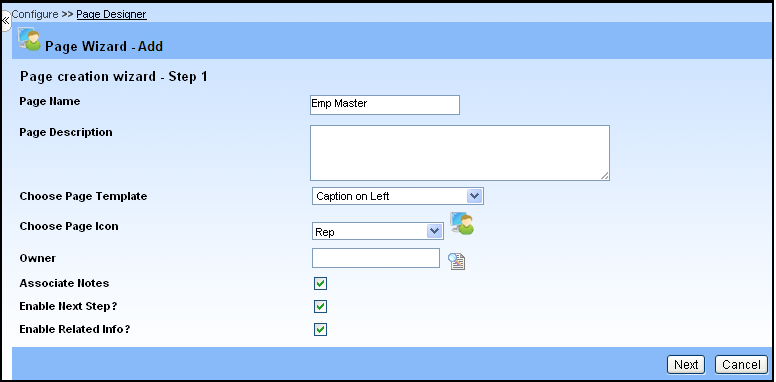
Creating a New Page or Pageset
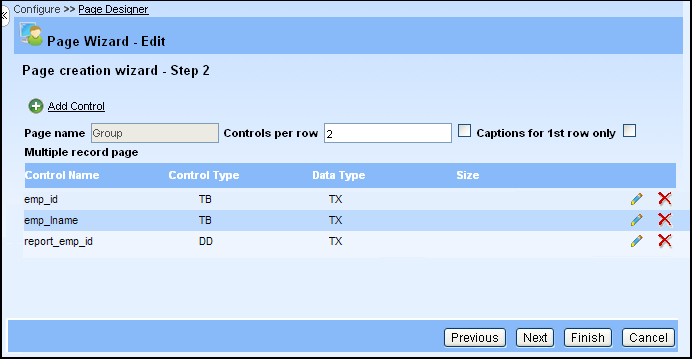
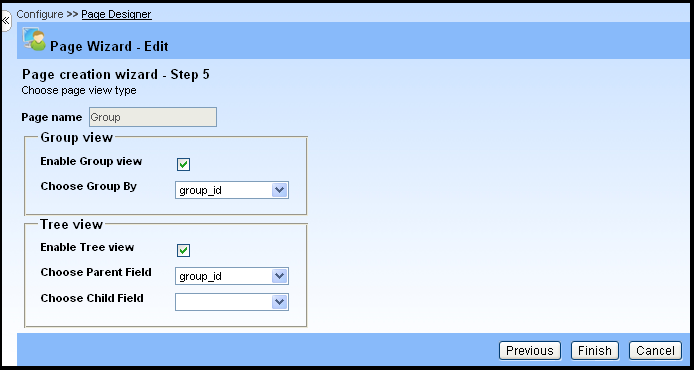
The user can create a new page, object [table] and Pageset using Page Wizard. You can also assign a value to particular field of the page or assign a validation function for that page on events like loading or saving of the page. You have to follow the steps given below to add new page "Group".
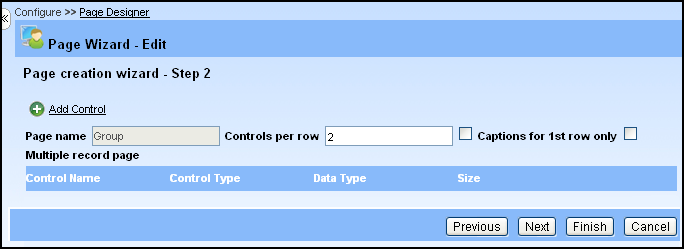

Note: If you wish to delete the added control, click the delete ![]() icon provided in each row. If you wish to edit an existing control detail, click the edit
icon provided in each row. If you wish to edit an existing control detail, click the edit ![]() icon provided in each row.
icon provided in each row.
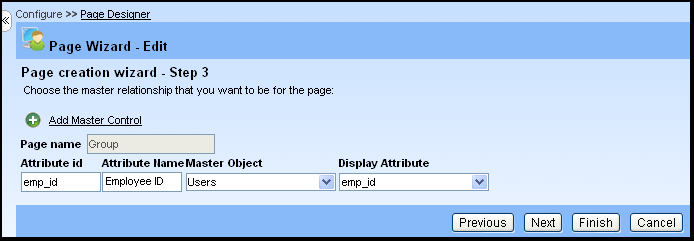
Note: If you wish to delete the added master control, click the delete ![]() icon provided in each row.
icon provided in each row.
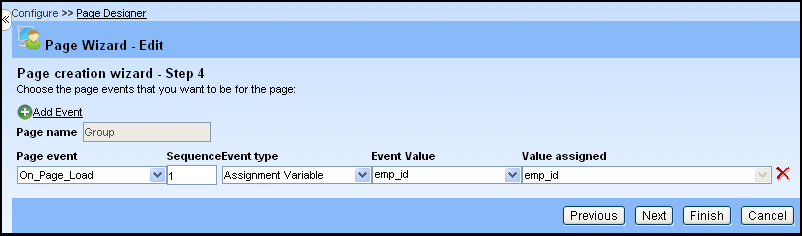
Note: If you wish to delete the added events, click the delete ![]() icon provided in each row.
icon provided in each row.
Note:
