User Tools

Site Tools


report_designer

Report Designer

Note: Available in All Editions. Full rights are available for Economy and Regular.

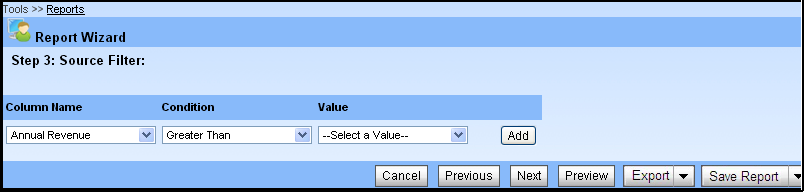
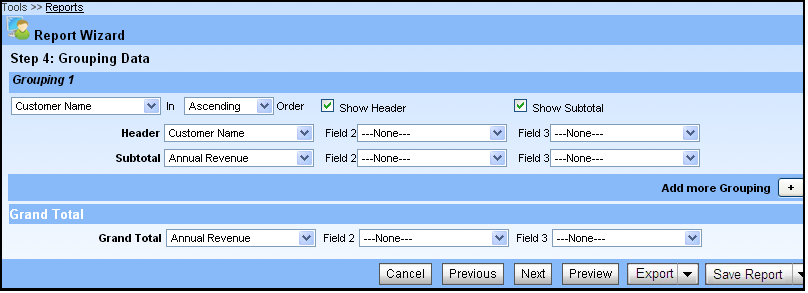
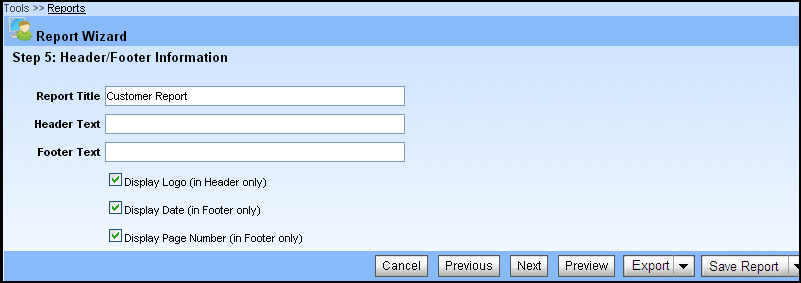
Report Designer guides the user with administrator rights through the process of creating their own reports. Use the report designer to define the report's source of data, to select and group the data records you want, and to format the report's objects and layout. You can create a report from the existing objects or queries that are created through query designer.

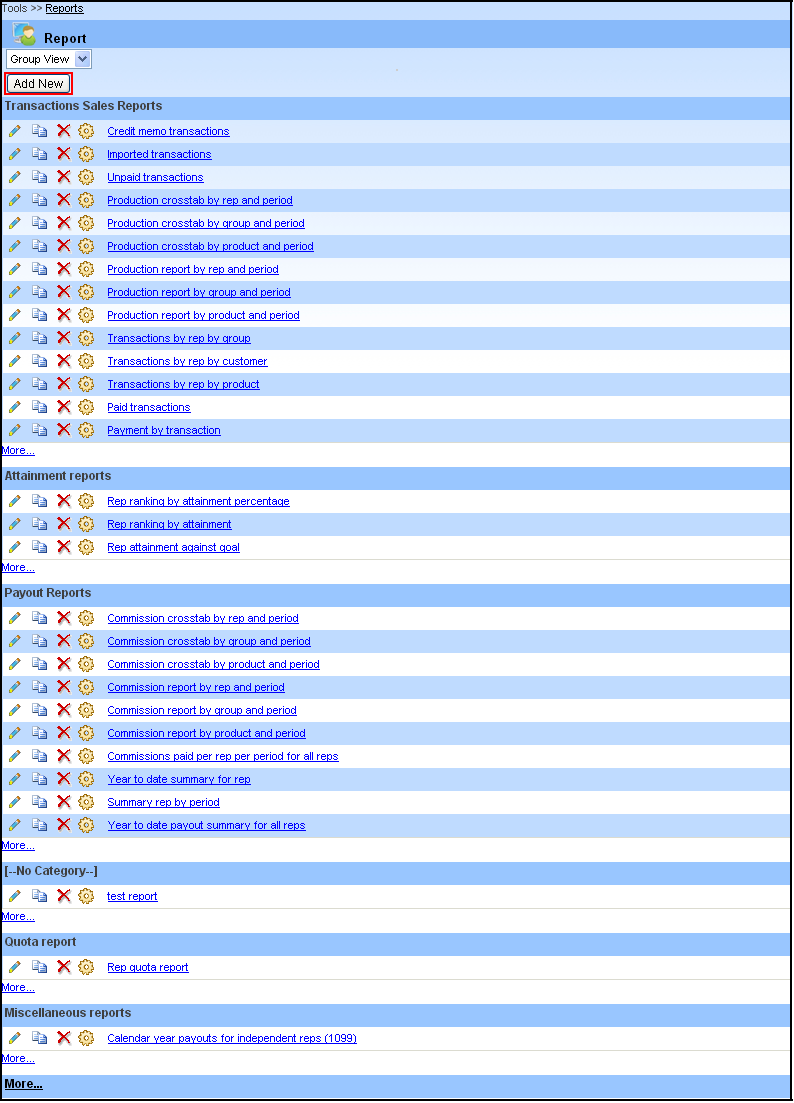
This page  lets you quickly create, and view the report details. In addition, this page lets you edit, delete and copy the report information. You can also sort and filter reports using standard and custom list views provided below the Title in a page.

You can click Tools  ? Reports menu item to display the "Reports" page. This page will list all the Report Name, Links to Edit, Delete, Copy option.

Creating New Report

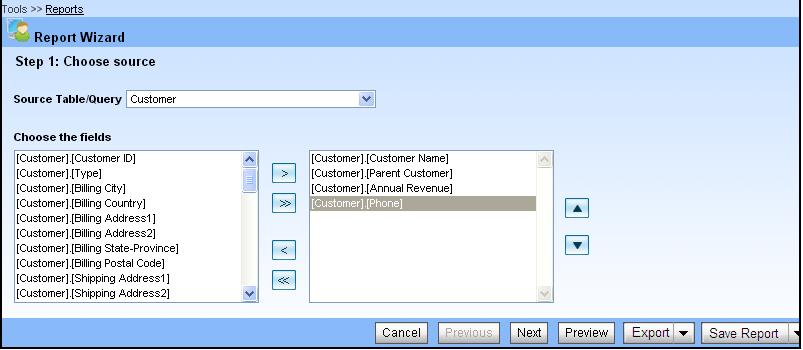
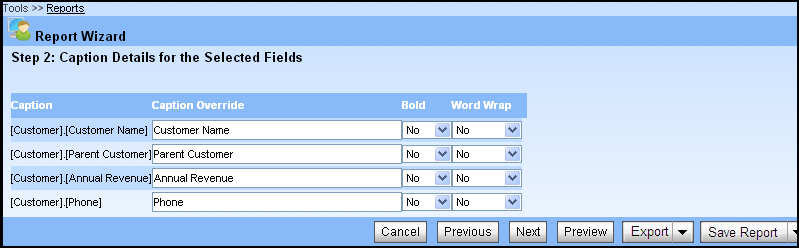
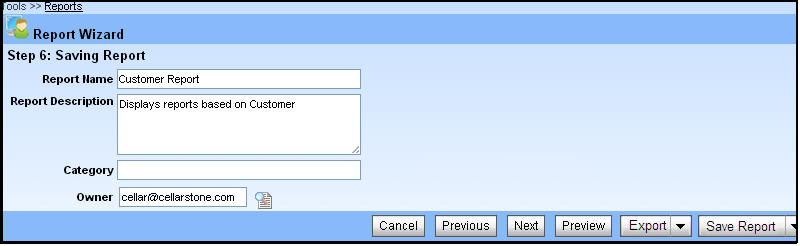
Admin user can create new report details such as Report Name, Report Description, Report Type, Report Object, etc. You have to follow the steps given below to add new report for displaying "Opportunities" by "Product".

  1. Click Tools  ? Reports menu item. The "Reports" page opens.

  1. Click on Add New button to create a new report. The "Report wizard - Step 1" page opens.

  1. If you select the Report Object option as "Source Table/Query", then select the query (created in query Page) as "Opportunities by prod" from the Source Table/Query drop-down. Or, if you select the Report Object option as "Choose from Objects", then select the object (created in query Page) as "Audit Log Key" from the Choose base object drop-down.
  2. After selecting the object or query, fields will be populated in the Choose the fields list area.
  3. Select the fields, you want and click the" >" button to move the field(s) one by one to the right list area. Or, click the ">>" button to move all the fields to the right list area. If you need to move any other fields from right to left list area, then use "<" or "<<" button. Use the up and down arrow buttons to arrange how the fields should display in the report. For example, move the desired fields [opportunities by prod].[PRODUCT], [opportunities by prod].[CustomerName], [opportunities by prod].[OpportunityName], [opportunities by prod].[Amount], [opportunities by prod].[Quantity], [opportunities by prod].[Stage], [opportunities by prod].[LeadSource], [opportunities by prod].[ProbabilityPercent], [opportunities by prod].[NextStep], [opportunities by prod].[CloseDate]".
  4. Click Next to proceed to next page. The "Report wizard - Step 2" page opens.

  1. This page sets the properties such as Caption, Bold, Word Wrap and the Caption Override for the field in the report. You can change each field's caption using Caption Override in each row.
  1. Click Next to proceed to next page. This page will display the source filter it filter the columns based on the condition values.

  1. Click Next to proceed to next page. The "Report wizard, Step 4" page opens.

  1. Select the name of the Group,Header from the drop-down. For example, select the group as "Customer" header as "Bmistal" from the drop-down.
  2. Select the header of the Subtotal from the subtotal drop-down it gives the total value of the selected item. For example, select the subtotal as "Anuval revenue" from the drop-down.
  3. Select the name of the Grand Total  from the grand total drop down.It gives the sum of all the group for that choosen field.
  4. Click Next to proceed to next page. The "Report wizard, Step 5" page opens.

  1. Type the name of the title in the Report title text box. For example, type the report name as "Opportunities By Product".
  2. Type the name of the header text, footer text in the Header Text and Footer Text text box. For example, type the report name as "Opportunities By Product".
  3. Select the Display Logo,Display Date, Display Page Number.   check boxes for display the logo in the top of the report and in the bottom we show the date and page number.
  4. Click Next to proceed to next page. The "Report wizard, Step 6" page opens.

  1. Type the name of the report in the Report Name text box. For example, type the report name as "Opportunities By Product".
  2. Type the description about the report in the Report Description text box. For example, type the description as "Displays reports for Opportunities based on Product".
  3. Type the category of the report in the Category.   text box. For example, type the report category as "Product".
  4. Click Next to proceed to next page. This page will display the report generated based on the selected fields in the area provided. Report is generated for preview in the page and you get a report with the attributes selected.

  1. Click Finish to save the report designed in the specified format.

Exporting the Report


Note: Available only in Regular Edition

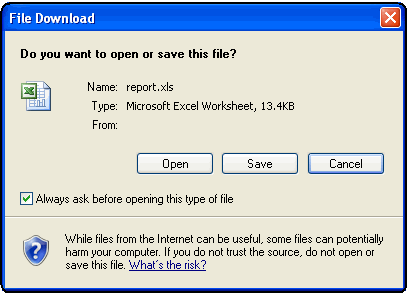
The user can export the report using an "Export" option. You will find this option on the top of the Report Wizard page.  After entering the details in Report Wizard page, the reports will be generated for the selected criteria. Export option will be available on the top of the Report Wizard preview page.

To export the report, do the following:

  1. Select the format (either Excel or PDF) from the File Format drop-down, provided on the top of the Report Wizard preview page. Click Export to open the following window.

  1. From the above window, you can click Open to open and view the file or click Save to save the file in the selected format.

 Note:

  • To update a report details, click Edit   icon, and then change the fields you want to update.
  • To copy a report details from an existing data, click Copy   icon.
  • To delete a report detail, click Delete  icon provided on the list page.
  • To view the particular report, click on the required Report Name link. For example, to view the report, click the report name "Opportunities By Product".
  • To sort the column alphabetically/ascending order, click on the required column header and click the column heading a second time, to reverse the sort order.

Click to go top

report_designer.txt · Last modified: 2020/07/16 22:55 (external edit)